You've found the recipe card again, tucked inside a cookbook or a kitchen drawer. The ink is fading, the corners are soft, and one ingredient is written in the shorthand only your grandmother used. You want to preserve it, but you also want a version you can search, share, and cook from without balancing a flour-covered card beside the mixing bowl.
Learning how to digitize handwritten notes is more than taking a picture and accepting whatever text appears on screen. For family recipes, the reliable approach is a two-pass workflow: capture the original carefully, extract the writing into editable text, then review every measurement, abbreviation, substitution, and cooking time against the card. That process preserves both the visual memory and the practical instructions.
Why Your Handwritten Recipes Need Digital Backup
A family recipe card carries information that a typed recipe often loses. The handwriting may belong to someone who has passed away. A stain might mark the cookie recipe made every Christmas. A note in the margin may explain that apples can replace pears, or that the dough needs more flour on a humid day. Keeping the card matters because the physical object is part of the tradition.
Paper, however, is a fragile storage system. Cards can be damaged by water, heat, spills, moves, or simple neglect. They can remain in one kitchen box while relatives who would love to cook the dish don't even know the recipe exists. A digital copy gives family members access without requiring anyone to handle the original.
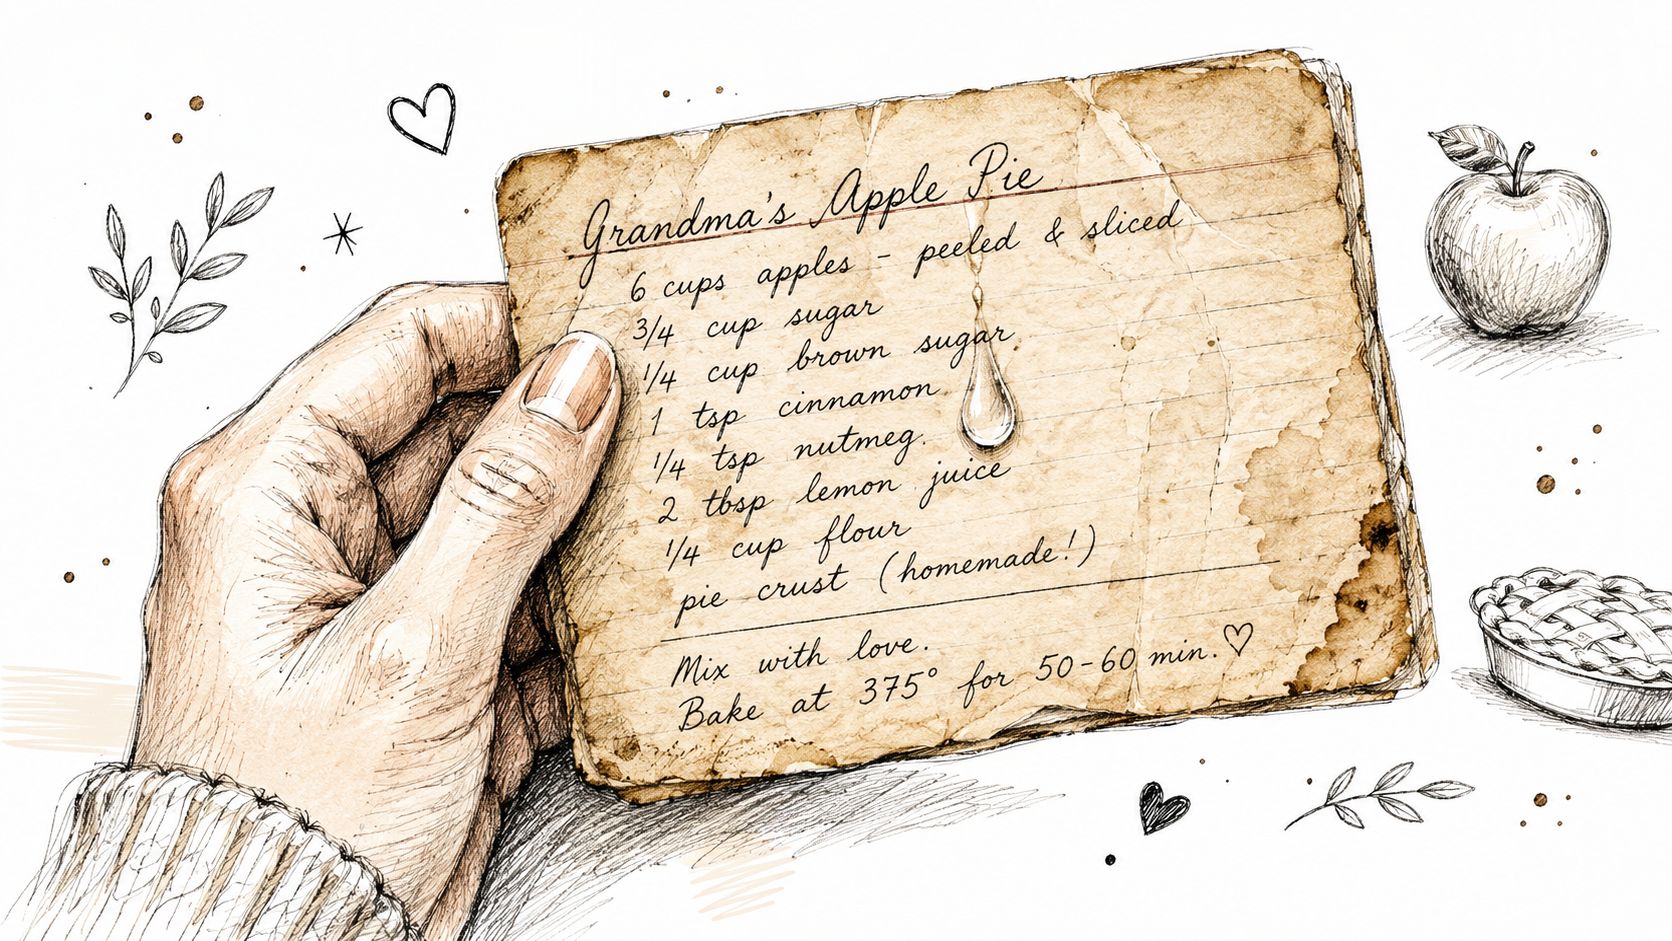
The strongest archive keeps two versions:
- The original image: This preserves handwriting, stains, crossed-out ingredients, arrows, and margin notes.
- The cleaned transcription: This makes the recipe searchable, editable, and easier to follow while cooking.
That distinction prevents a common mistake. A polished digital recipe shouldn't replace the card. It should sit beside it, so future cooks can read the instructions and still see who wrote them.
Practical rule: Preserve the photograph before you edit the words. The image is your reference whenever a transcription looks suspicious.
Modern handwriting recognition has made the first transcription much faster than typing every card from scratch, but it hasn't eliminated human judgment. Clean notes can produce a useful first draft, while joined-up writing, faded ink, and family-specific shorthand need careful checking. If you plan to store recipes in a digital service, review its terms, including Mealdill's terms of service, before uploading personal family material.
Capturing Clear Photos for Better OCR Results
The quality of the photograph determines how much work comes afterward. Start by clearing a table and placing the card on a flat surface. Use natural daylight when possible, or bright artificial light that falls evenly across the page. A nearby lamp can create a hard shadow from your phone or hand, so position the light to the side rather than directly behind the camera.
Hold the phone directly above the card. Keep the camera parallel to the page, not tilted from an angle, and leave the entire recipe in frame. A card that fills most of the image gives the recognition system more readable detail, while perspective distortion can make lines near one edge look compressed.
A practical workflow for recipe cards looks like this:
- Flatten the page: Gently smooth curled corners and place a clean, lightweight object just outside the writing area if the card won't lie flat.
- Remove glare: Glossy card stock can reflect a window or lamp. Change the light angle rather than using a flash directly on the surface.
- Check focus: Tap the handwritten text on your phone screen before taking the photo. Zoom in and inspect small measurements immediately.
- Capture both sides: Photograph the front and back as separate files, especially when substitutions or cooking notes continue on the reverse.
- Keep the image complete: Include the edges of the card so you can recognize the original later, but don't let unrelated table clutter dominate the frame.
Cards inside binders or albums need extra patience. Keep the page as flat as the sleeve allows, open the album wide, and photograph from above. If the plastic reflects light, move the lamp or camera until the glare disappears. Don't remove a fragile card just to get a cleaner shot unless you can do so safely.
The reason for this fuss is practical. The handwriting OCR workflow guidance from FastOCR notes that capture should begin with a flat, evenly lit image, a fully visible page, and minimal shadow or perspective distortion. Its benchmark summary reports roughly 70% to 85% accuracy for neat print handwriting, 50% to 65% for cursive, and 40% to 60% for messy notes, which makes preparation a necessary part of recognition rather than a cosmetic extra.
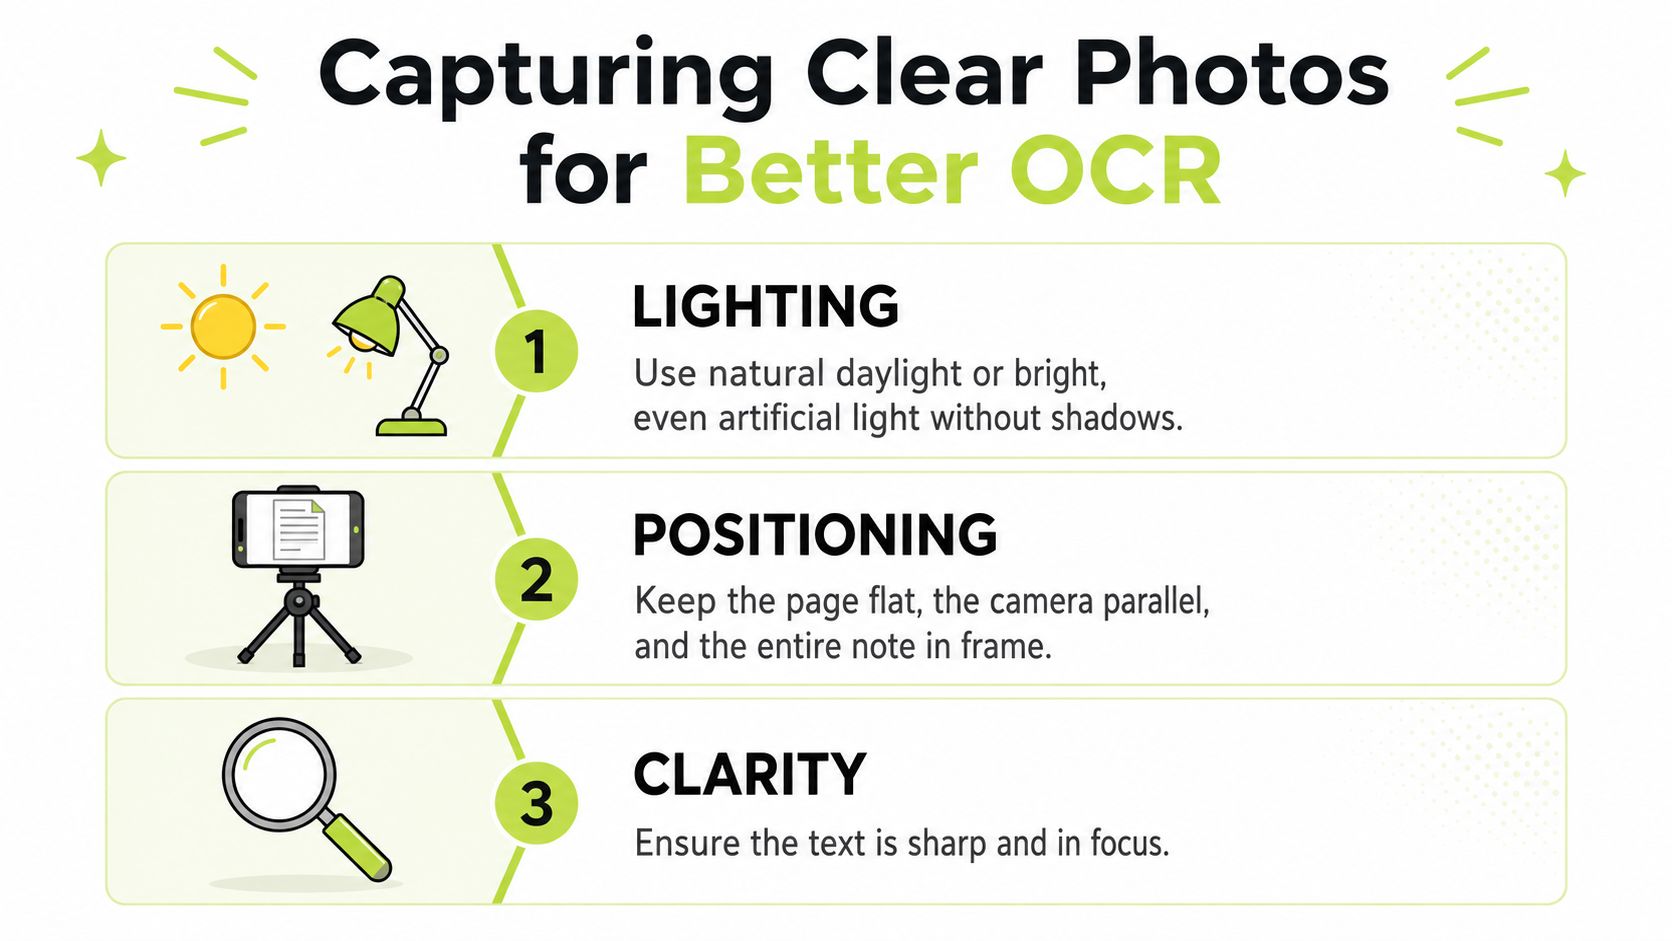
Before you press the shutter, ask: Is the page flat? Is every line lit? Is the camera parallel? Is the smallest fraction sharp? If any answer is no, fix the physical setup first. Software can interpret a good image, but it can't reliably reconstruct writing hidden by glare or blur. Once the card is captured, you can save the finished recipe alongside your other digital recipes.
Using Mealdill's Digitize Feature to Extract Text
After photographing a card, upload the image to Mealdill's digitize feature. The system processes the photograph and turns the handwriting into editable recipe text, giving you a working transcription instead of a blank recipe form. The exact result depends on the card, the writing style, the lighting, and how clearly the ingredients and directions are separated.
Treat the extracted text as a first draft. A neat recipe written in clear block letters may need only light proofreading. Cursive writing, squeezed-in notes, crossed-out ingredients, and abbreviations such as “tbsp” can require closer comparison with the original image. The most useful habit is to keep the card visible while you read the transcription, rather than trusting a fluent-looking sentence.
Modern systems vary widely. A 2026 handwriting OCR benchmark summary reports frontier AI systems at about 1.22% to 1.44% character error rate on handwriting, compared with 12.5% for Tesseract in the cited comparison. Those figures apply to benchmark conditions, not a promise for every stained recipe card, but they illustrate why an AI-based tool can produce a much more useful starting point than a general open-source engine.
A careful first review
Read the extracted recipe in this order:
- Title and yield: Make sure the dish name and serving information match the card.
- Ingredients: Check every number, fraction, unit, and ingredient name before cooking.
- Directions: Look for missing verbs, temperatures, times, and sequence words.
- Margin notes: Confirm that substitutions and family tips haven't been dropped.
- Layout: Check whether separate ingredient groups, such as filling and topping, remain distinct.
When the extraction struggles, don't keep editing blindly. Re-capture the card with better light, crop away distracting background, or photograph a difficult corner separately. A second image can clarify a single smudged line far more effectively than repeatedly guessing from the same poor photograph.
The extraction stage saves labor, but it doesn't make cooking decisions for you. Use the digitized draft for searchability and structure, then move into the second pass, where you compare details and make the recipe safe to follow. You can open Mealdill to work with the captured recipe in a digital format.
Cleaning Up Measurements and Recipe-Specific Errors
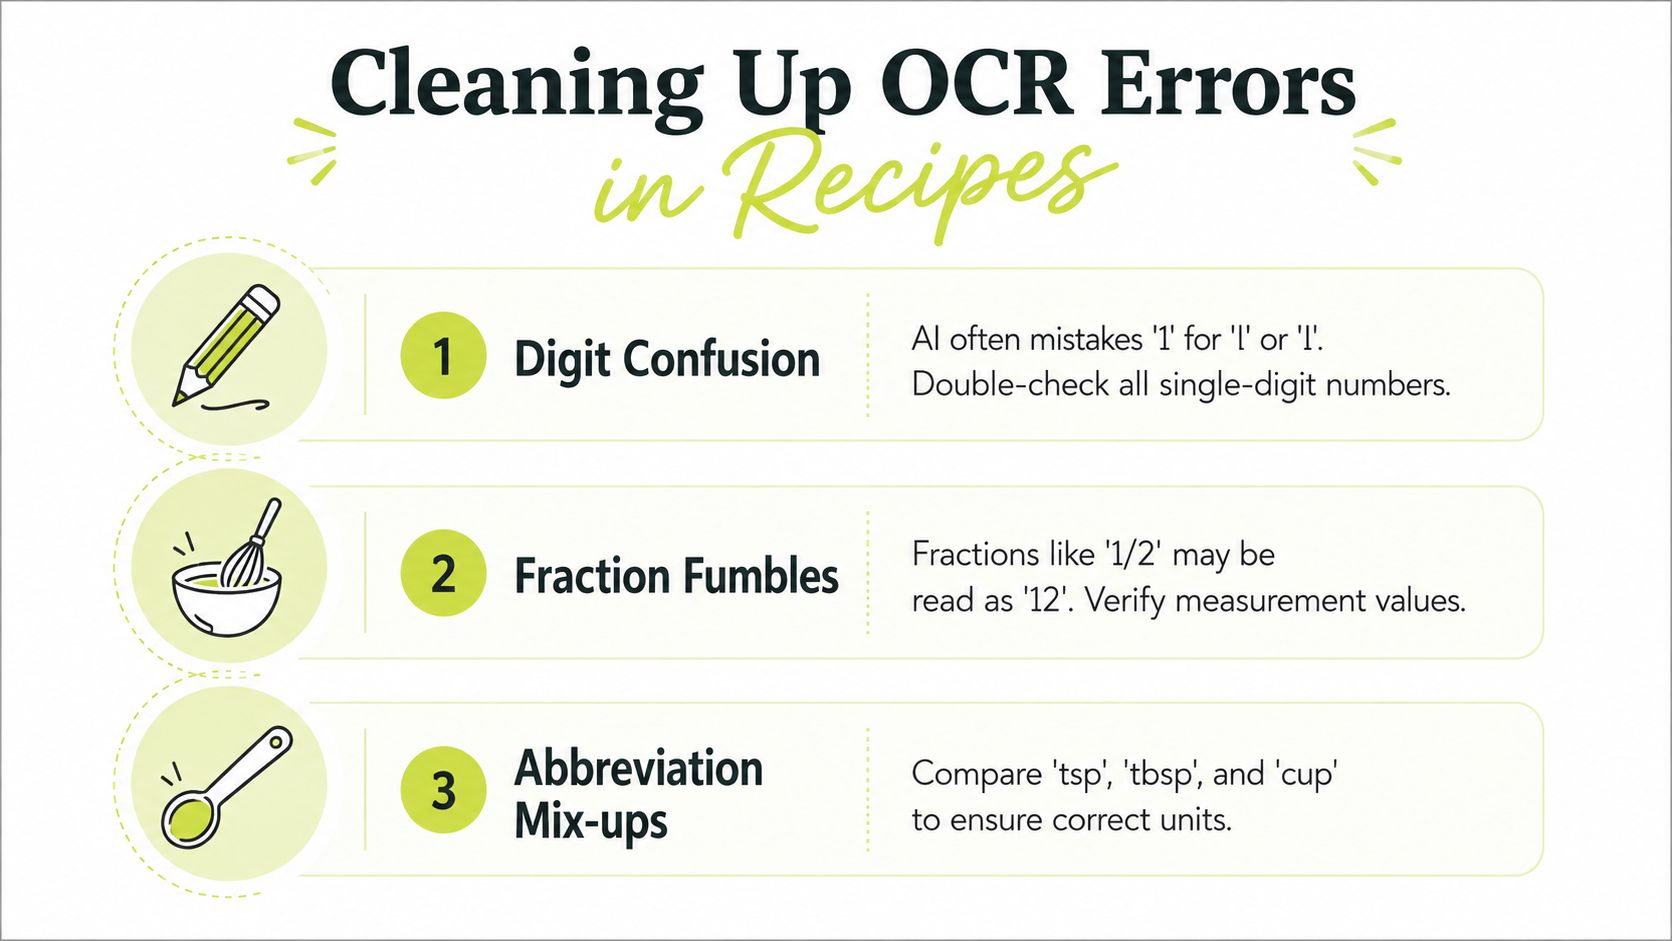
A family recipe becomes dependable. OCR can produce text that looks perfectly readable while changing the one character that controls the entire dish. A handwritten “1” may become a lowercase “l” or capital “I.” A fraction such as “1/2” may appear as “12,” and “tsp” can be confused with “tbsp.” Ingredient names can also suffer, especially when the writer uses unusual spellings, local terms, or a shorthand passed down through the family.
Use the two-pass method deliberately:
Pass one is extraction. Convert the photograph into searchable text without trying to perfect every line. Keep the original image attached to the recipe so the transcription always has a visual source.
Pass two is verification. Read the digital version line by line against the card. Correct measurements, ingredient names, temperatures, cooking times, and substitutions before treating the recipe as finished.
Check the details that affect the dish
Numbers deserve priority over prose. Scan every line for isolated digits and fractions, then compare the value with the card and with the surrounding instruction. If the text says to add “12 tsp” to a small mixture, that may signal a transcription problem, but don't replace it based on intuition. Mark the card for review and preserve the original wording until you can interpret it confidently.
Recipe abbreviations need the same attention. Common examples include:
- tsp: teaspoon
- tbsp: tablespoon
- c: cup
- oz: ounce
- lb: pound
- pkg: package
- qt: quart
- pt: pint
Your relatives may use those forms differently, so treat this list as a prompt for checking, not an automatic correction rule. “Mix until done” might be a family phrase that needs a note, while “bake 10” may require you to inspect whether the missing word was minutes, degrees, or something else.
Preserve substitutions and context
Margins often contain the most valuable cooking knowledge. A note such as “use honey if out of sugar” or “Grandpa prefers walnuts” shouldn't be merged into the main ingredient list without context. Keep it as a substitution or family note, so a future cook can distinguish the original recipe from an optional variation.
The same applies to crossed-out ingredients. Don't erase the evidence from the image, and don't assume the crossed-out line is irrelevant. It may explain why the recipe changed over time. Add a clear note in the digital version if the alteration affects preparation.
A recipe with a wrong measurement is worse than an incomplete recipe because it creates false confidence. The handwriting digitization benchmark review from Image to Table describes a historical shift from basic image capture toward a workflow combining scanning, AI extraction, and human review. That combination is especially important in cooking, where a small transcription error can change texture, sweetness, or cooking time.
Organizing Your Digitized Recipes into a Searchable Library
A digitized recipe becomes useful when you can find it at the moment you need it. Start with a consistent title format, such as Grandma's Apple Pie, Aunt Maria's Sunday Sauce, or Holiday Chocolate Cake. If several relatives made the same dish, add a clarifying detail rather than creating vague titles like “Best Cookies” or “Old Recipe.”
Tags should answer the questions you ask in the kitchen. Useful groups include:
- Meal type: Breakfast, dinner, dessert, snack
- Cuisine: Italian, Mexican, regional family dishes
- Dietary needs: Vegetarian, gluten-free, or other relevant filters
- Family collection: Grandma's recipes, holiday favorites, recipes from a particular relative
- Occasion: Birthday, Sunday lunch, Christmas, potluck
Don't tag every possible characteristic. A small set of predictable labels is easier to maintain than a cloud of near-duplicates. For example, choose either “dessert” or “sweets” as your standard label, then use it consistently across the library.
Keep the family story attached
Add a short note when the recipe has useful context. Record who wrote the card, where the recipe came from, and whether the digital version preserves a substitution or later family modification. Those details make search results more meaningful and help younger cooks understand why the dish matters.
A good recipe record can include the cleaned ingredients, directions, source image, tags, serving notes, and a brief family memory. The transcription handles retrieval, while the image and note preserve the character of the original.
Connect recipes to real meals
A library shouldn't become a museum you browse but never use. Add digitized favorites to meal plans when you know you'll cook them, and group seasonal dishes into reusable collections. Mealdill also supports meal planning, family access, and recipe discovery through its broader library, so the digitized card can move from archive to weekly cooking routine.
You can manage the collection from the Mealdill recipe library. Family Sharing can give household members access to recipes and planned meals, which means the person cooking dinner doesn't have to search through a private folder or ask someone else to photograph the card again.
Exporting and Backing Up Your Recipe Collection
A digital recipe library still needs a backup plan. Keep the original card photographs, the cleaned recipe text, and any family notes together when you export. The image protects the historical record, while the editable version keeps the instructions practical for everyday cooking.
Use more than one storage location. A cloud copy protects against a lost phone or damaged computer, while a local copy gives you access if an account or internet connection becomes unavailable. You can also share an export with relatives who want their own copy of the family cookbook.
Before uploading sensitive notes or family information, review the service's data practices and Mealdill's privacy policy. Check what gets stored, who can access shared recipes, and how you can remove or retrieve your material. Portability matters because an archive is more trustworthy when you can export it and migrate when your needs change.
Start with a few recipes you cook often, not the entire box. Photograph them carefully, run the first extraction, complete the measurement review, and test the finished versions while cooking. Once that habit feels easy, continue through the collection before more ink fades or another beloved card disappears.
Mealdill gives you a place to digitize handwritten family favorites, organize them into a reusable recipe library, and connect them with meal planning and family sharing. Visit Mealdill this week, start with your most treasured recipe cards, and turn them into searchable recipes without losing the handwriting and stories that made them special.